Reconciliation Report
Objective: Gain an understanding of the Reconciliation Report and learn how to export and extract this report from the Accounting module.
NOTE This Reconciliation Report is identical to the Reconciliation Report available in the Valuations module. By making this report available in both modules, users with access to either module are able to run the report as needed.
The Reconciliation Report is generated in order to confirm that the Valuation records match with the Accounting records. The purpose of account reconciliation is to provide accuracy and consistency in financial accounts.
In Brightly Assetic, the Reconciliation Report is carried out at the component level to show the latest changes made to an Asset.
Generating a Reconciliation Report
From the Navigation Sidebar, select 'Accounting', then select 'Fair Value' ledger from the Navigation Dropdown.

Next, click on 'Report' from the Reconciliation tab to generate the Reconciliation Report.
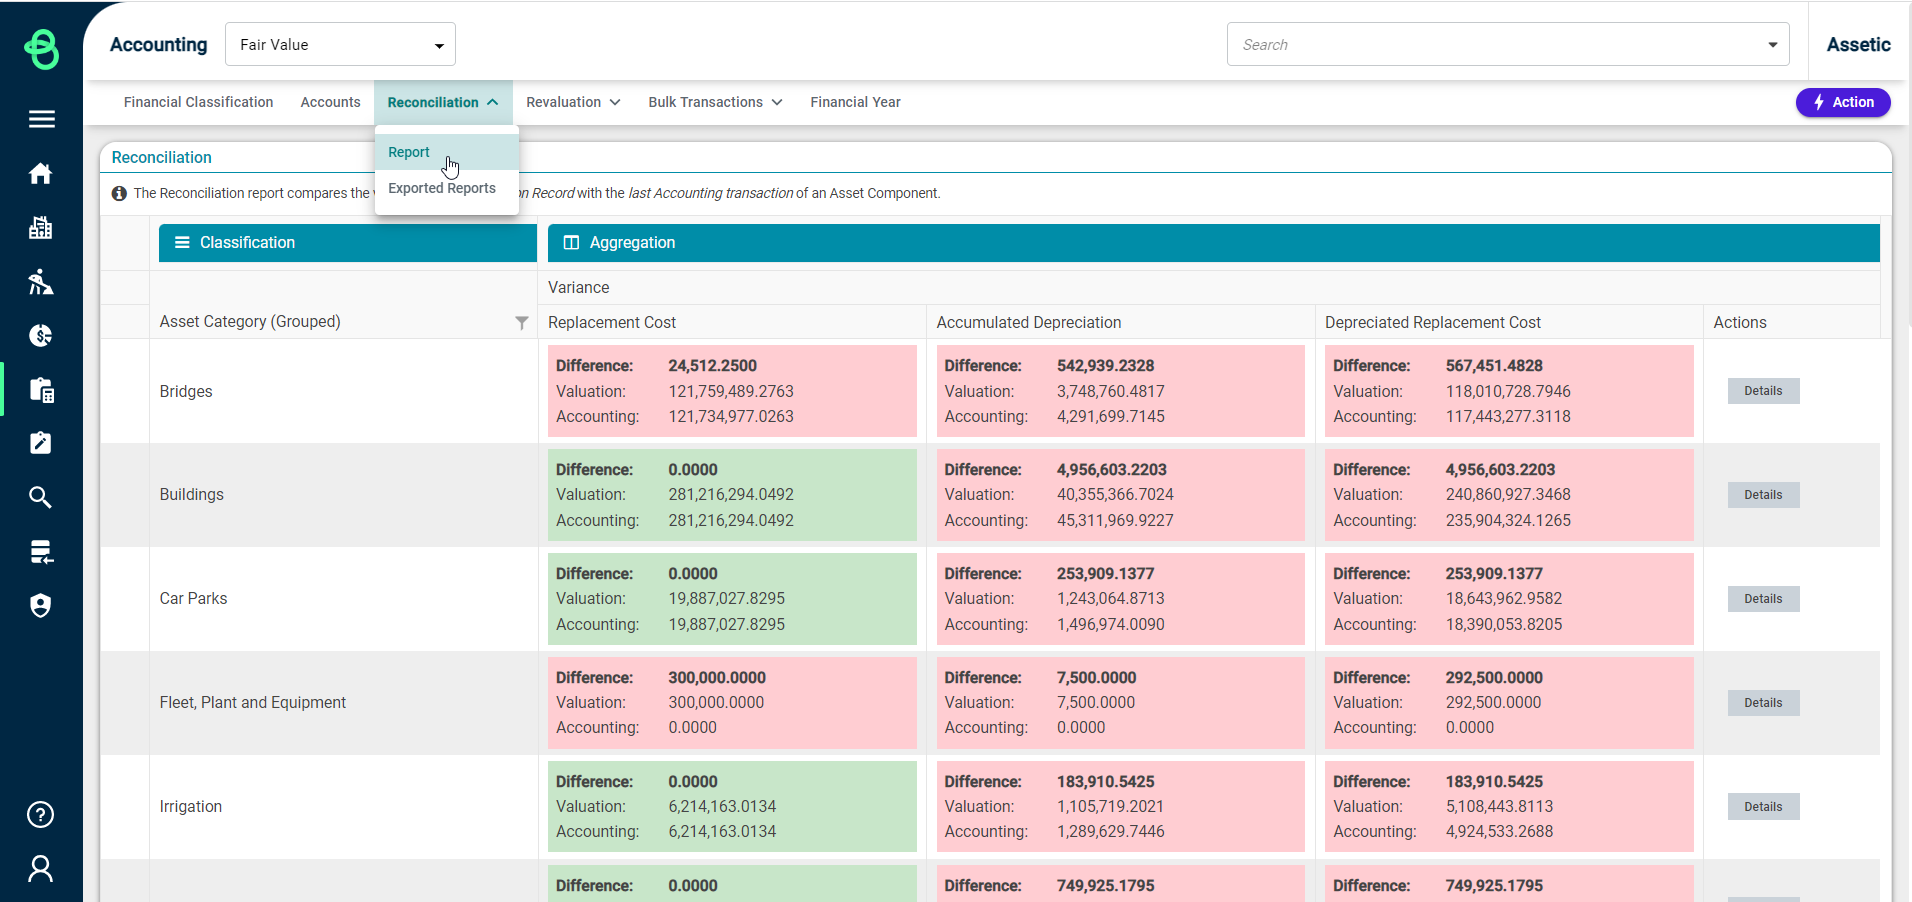
Green tiles indicate that Valuation and Accounting records match, while red tiles indicate that there is some variance between the two. For any Asset Category where there is variance, the 'details' button can be used to open the Reconciliation Detail Report for that Asset Category in a new tab.
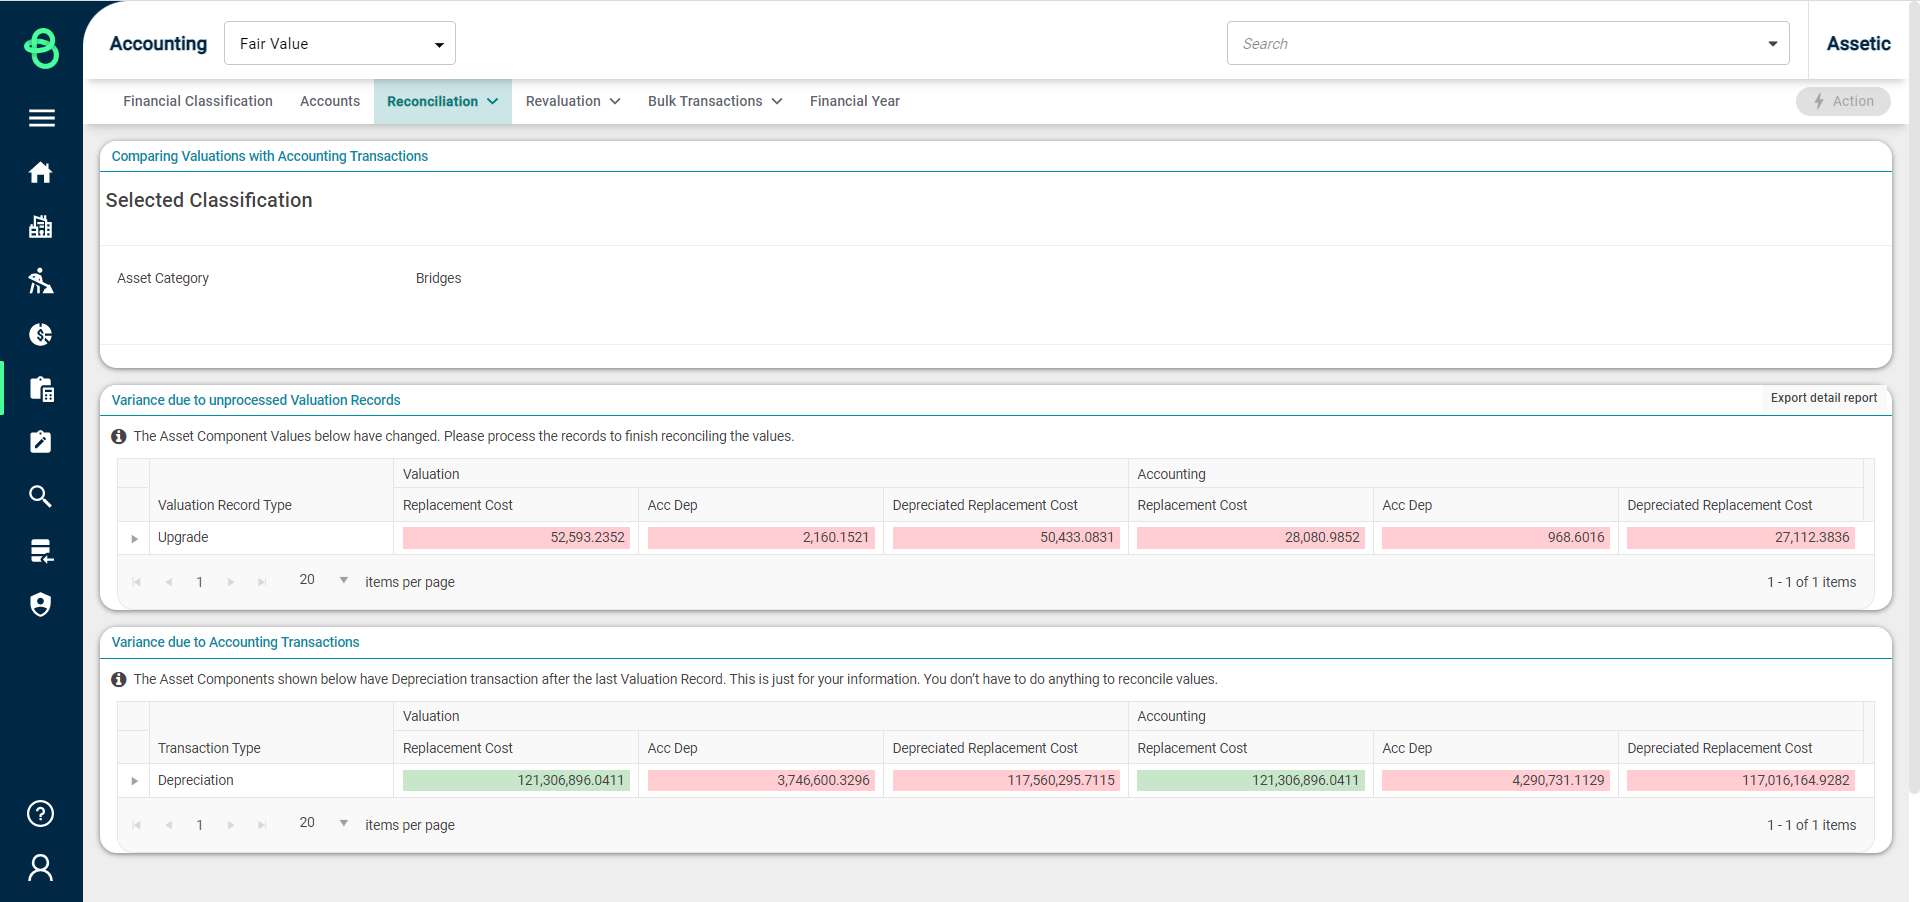
The report information contained in the 'Variance due to unprocessed Valuation Records' can also be exported using the 'Export detail report' button.
Back on the main Reconciliation Report, Basic Mode can be enabled:
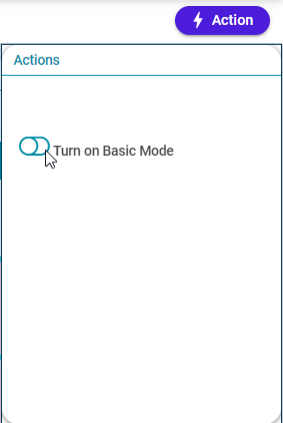
Turning on Basic Mode allows the report to be grouped by the available Financial Class/Subclass, and exported:
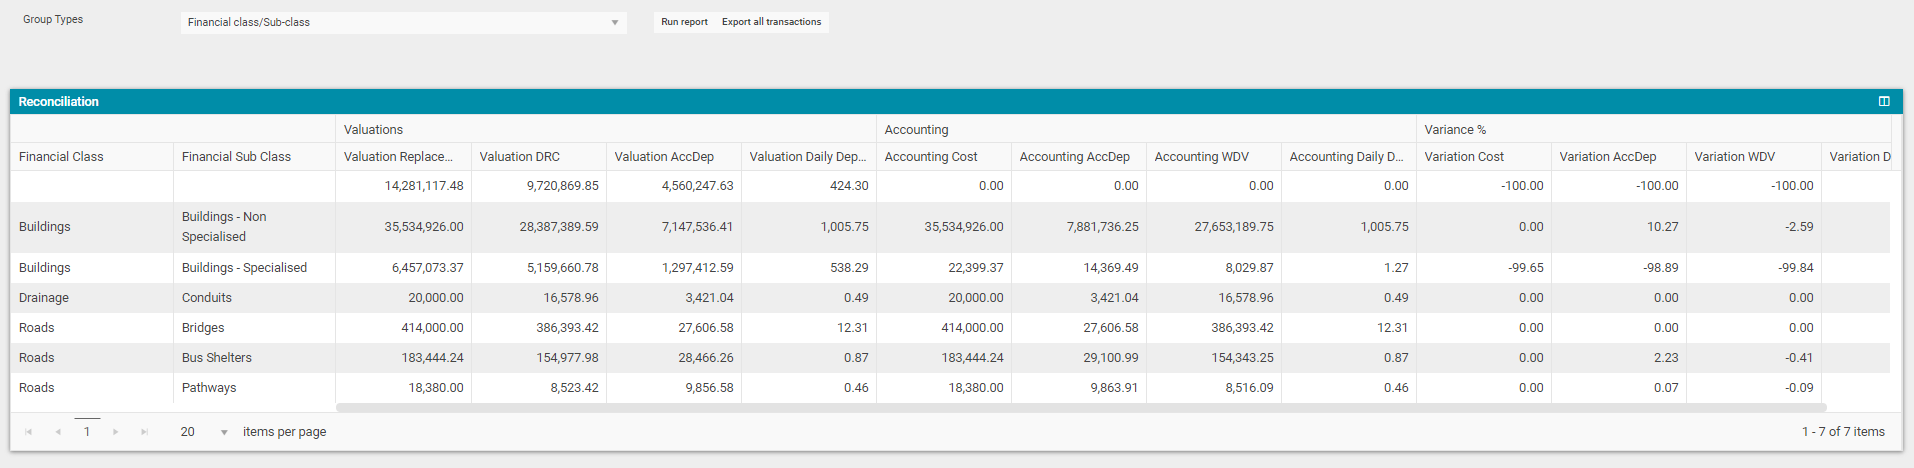
Click on the 'Export all transactions' button to export the Valuation Ledger Report (Fair Value) details into an Excel sheet.
A confirmation message will be displayed after the export has started:

To view the exported report, click on the 'Reconciliation' drop-down in the top right, and select 'Exported Reports':
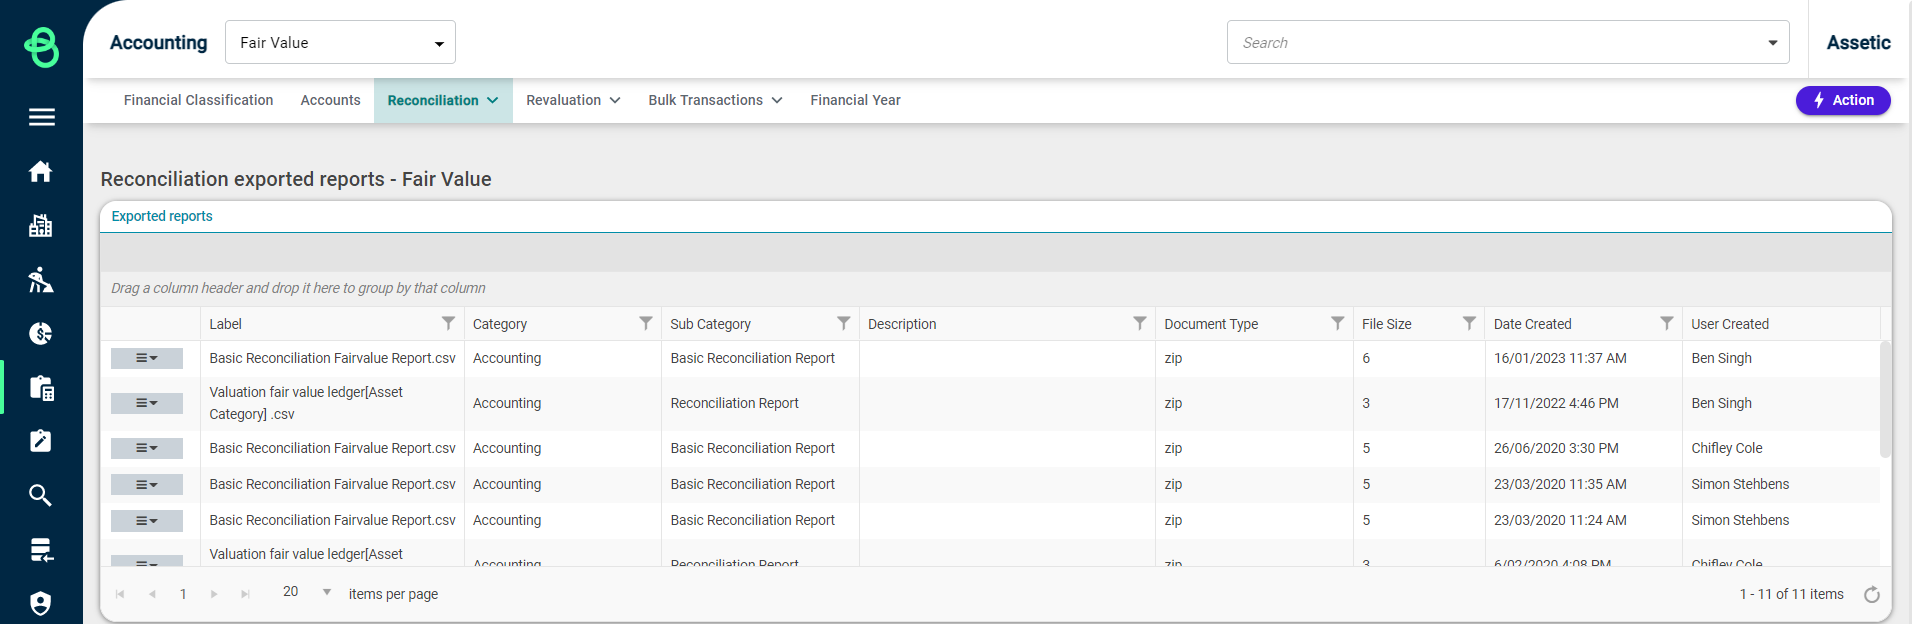
Click on the menu icon for each report to download or delete that report:
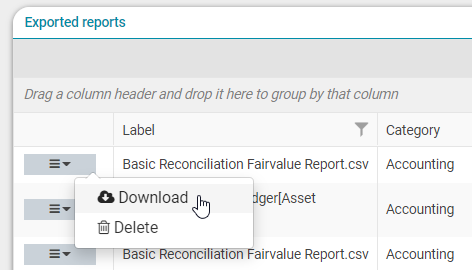
To open the exported report, click 'Download' and the report downloads locally in .gz format. Then open the local folder that the file was downloaded to, and locate the .gz file. Next, right-click to select the Unzip tool and extract (Unzip) the file. The following window appears:
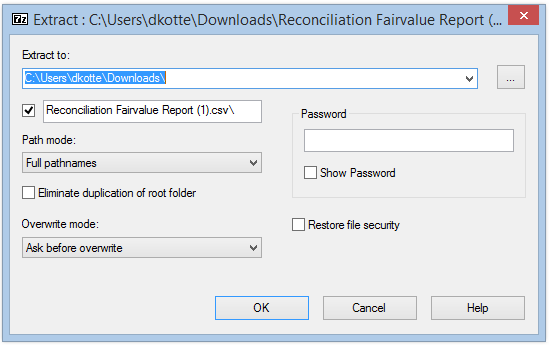
In the 'Extract to' dialog, enter or browse to the folder path where the file is to be extracted to and select OK to start the extraction. This will extract a CSV file in the folder that has been selected, with the same file name as the Zip file.
If this exported file is no longer needed, simply click on 'Delete' from the menu icon. A pop-up message is shown confirming the action.
